- Published on
Augmented reality & computer vision

- Authors
- Name
- Guillaume C. Marty
- Engineering Team Manager
at Signable
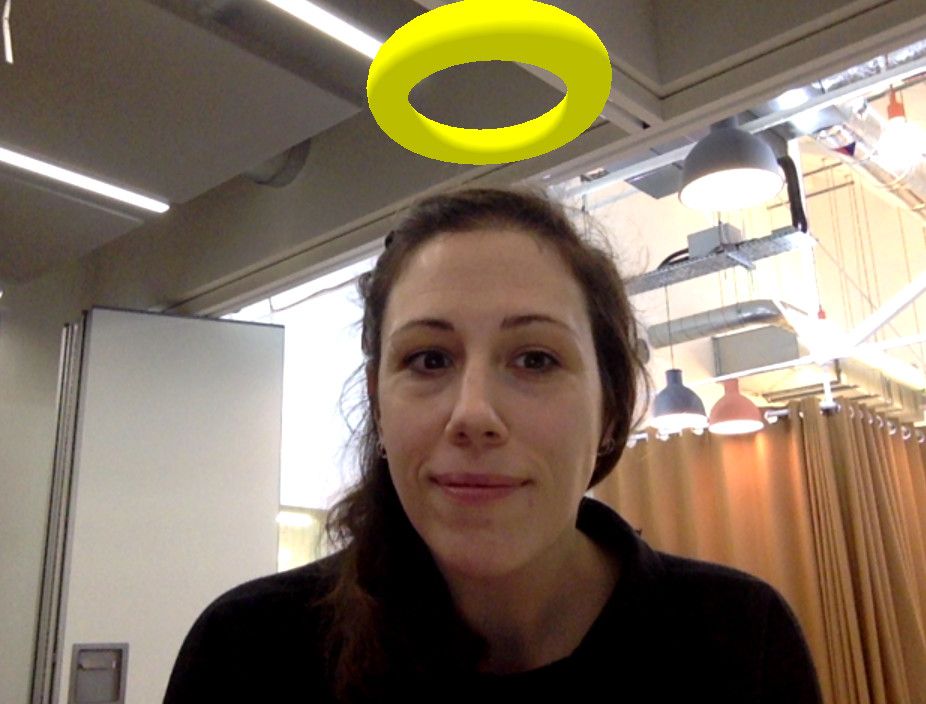
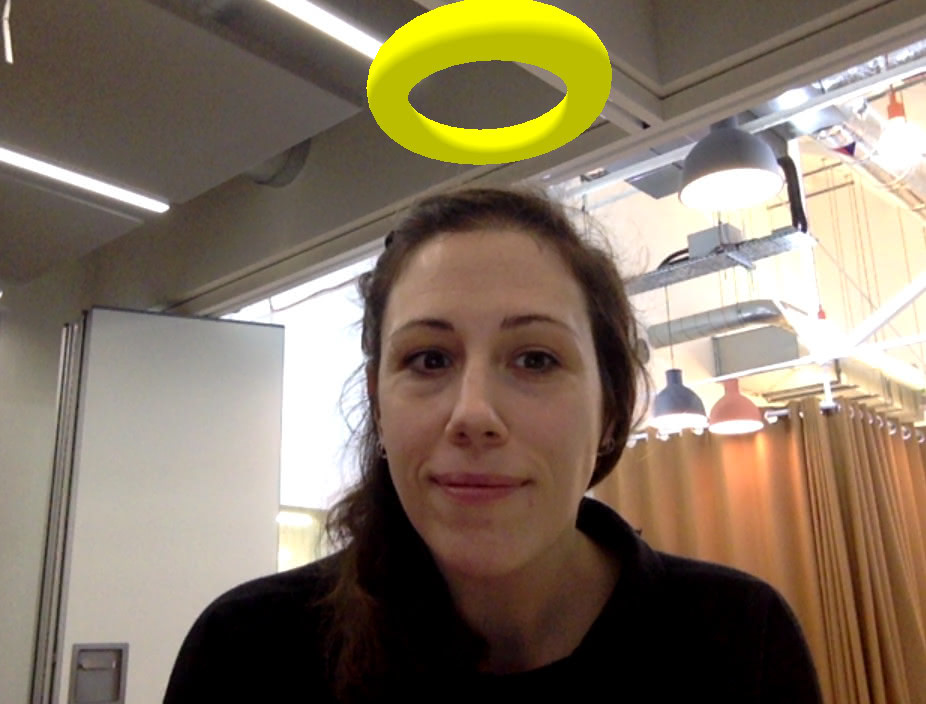
tl;dr: Media capture, object detection and WebGL can be combined to hack a simple augmented reality experience. See my demo called we are all Saints.
To simplify things, augmented reality is based mainly on 2 technologies:
- Sensors to track the position and orientation of the user field of view (FOV)
- Computer vision to detect objects in the user FOV
Of course modern AR headsets like Hololens combine both to create the best experience possible. I explored using common devices with web technologies to create a simple AR experience. I decided to go for computer vision applied to media capture.

Object detection
There are few different libraries to detect objects in an image. Most of them seem to be based on OpenCV, ported to JavaScript via emscripten. I didn’t spend too much time looking for a library and quickly settled for js-objectdetect. It’s hand-written (as opposed to converted via emscripten) so it makes easy to read, understand and debug if needed. It can detect different types of objects but I used human faces here.
Once set up properly, js-objectdetect accepts a video element as an input, so I just pass to it the one that displays the camera feed I got from getUserMedia.
It return the coordinates in pixel of the faces detected (left, top, width and height).
Recreating a virtual 3D space
Next step is to place the faces detected in the image in a virtual 3D space by estimating their respective positions. I used A-Frame to create the 3D world because this framework is easy to use.
Positioning an element on the x and y axes is really easy. We need to convert the position in the (-1, 1) range, more about that later. For example a point centred in the image will have both its x and y values set to 0. Knowing the position in pixels and the size of the video the values are easy to get (Also the y axis direction is reverse in the web and WebGL). For the x axis, half the width needs to be added so that the element is horizontally centred on the face.
The z axis is a bit trickier. It needs to get estimated and calibrated. I used the height value. I noticed that once detected my face takes at most 80% of the image height when I stand at about 50cm from the camera. The further I step back, say about 2m, the smaller my face gets, to take about 30% of the screen height.
I used these distances as the values for the camera frustum near and far clipping planes (near and far attributes on the <a-camera> element).
Then I only need to convert and clamp the height of the face detected between the % values of image height that I determined above. Once converted to the (-1, 1) range, they’ll vary proportionally between 50cm and 2m. That gives me a good enough approximation of where my face is located in respect to the camera.
I also used the detected height to position the virtual element a few apparent centimetres on top the faces.
Overlaying
A-Frame uses Three.js under the hood. That’s what I’m using to perform computations.
Now that I’ve got the x, y and z position in the (-1, 1) range I need to unproject this vector along the active camera. That is not as complicated as it sounds:
const pos = new THREE.Vector3(x, y, z).unproject(camera)This returns a vector corresponding to the position in space of the object given the current FOV (i.e. camera).
Finally I can set the position of the A-Frame element in the virtual space that I want to super impose over faces:
element.setAttribute('position', pos)Conclusion
This experiment wasn’t as hard as it sounded at first and the result is quite convincing. I learnt a lot about projection and unprojection in the process. As usual the code is on GitHub as all-saints-ar because we are all saints!